Shimanami Kaido 2-Day Cycling Itinerary: The Complete Guide
Plan your perfect Shimanami Kaido 2-day cycling itinerary. Includes day-by-day route guides, bike rental tips, luggage delivery hacks, and where to stay.
On this page
Shimanami Kaido 2-Day Cycling Itinerary
The Shimanami Kaido is a 70-kilometre cycling road that links Honshu to Shikoku across six islands and seven bridges. A two-day pace is the sweet spot for most riders: enough hours to cover the distance comfortably, and enough downtime for citrus gelato in Setoda, lunch over the Seto Inland Sea, and a sunset on Omishima. This guide covers logistics, day-by-day timing, rentals, accommodation, and the small details that competitors keep getting wrong in 2026.
I rode the route both directions in spring and built this plan around the actual bridge ramp profiles, the official rental terminal hours, and the latest toll rules. For broader gear advice see our cycling logistics guide
, and if you want to bolt this onto a wider trip, our 3-day Hiroshima adventure itinerary stitches it together with hiking and kayaking.Free: The Hiroshima Essentials guide
Top things to do, where to stay, a perfect day plan, getting around, and the best time to go — a Hiroshima mini-guide you can take offline.
Shimanami Kaido 2-Day Route Overview
The official course runs roughly 70 km between Onomichi (Hiroshima) and Imabari (Ehime), threading Mukaishima, Innoshima, Ikuchijima, Omishima, Hakatajima and Oshima. Across two days, expect 35–40 km per day at a relaxed 12–15 km/h, with around 4 hours in the saddle each day and another 2–3 hours for breaks, lunches and detours. The total elevation gain is modest, but every bridge approach is a 1–1.8 km ramp at a steady 3% grade.
The standard mid-way stop is Omishima, the largest island and roughly the halfway mark whether you start in Onomichi or Imabari. Setoda on Ikuchijima is the alternative if you want shops, cafes and the colourful Kosanji Temple a short walk from your inn. Both options leave you with a manageable Day 2.
Navigation is genuinely simple: a continuous blue line is painted on the road or shoulder for the entire route, with directional markings every few hundred metres and distance counters to both Onomichi and Imabari. You do not need GPS, but a downloadable copy of the official Setouchi Shimanami Kaido course map is useful for planning rest stops.
Essential Pre-Trip Planning and Logistics
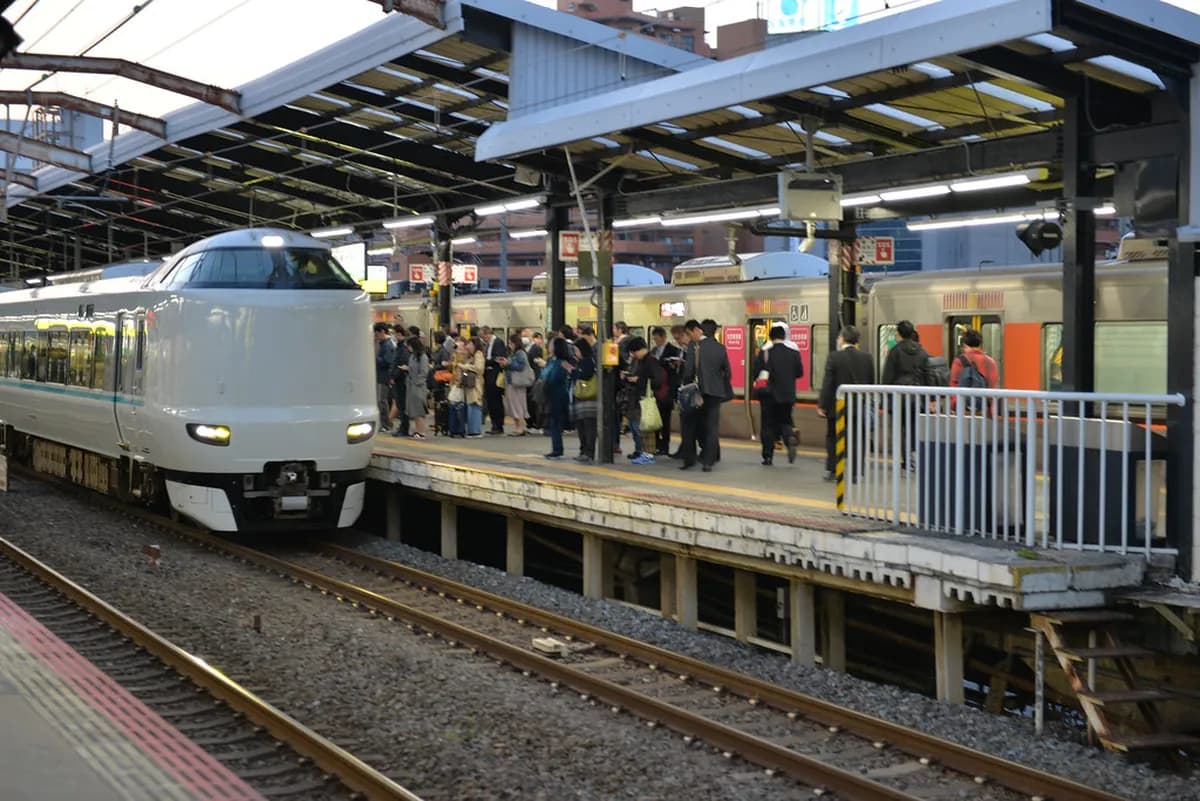
Reaching the start is the part most travellers underestimate. From Tokyo, take the Tokaido/Sanyo Shinkansen to Fukuyama, then a 20-minute JR local to Onomichi. From Hiroshima city, it is a 90-minute local train to Onomichi or a Shinkansen-plus-local to Mihara. To reach Imabari for a south-to-north start, take the Shinkansen to Okayama, transfer to the Marine Liner to Takamatsu and the limited express Shiokaze to Imabari, or fly into Matsuyama and bus 80 minutes east. Slot this against your wider Hiroshima itinerary so the cycle days bracket your Peace Memorial visit cleanly.
Book early. The Giant Store Onomichi requires reservations at least 14 days out and sells out for spring weekends months ahead. The 13 public Shimanami Rental Cycle terminals are first-come, but Sunrise Itoyama (the central terminal near Imabari) and Onomichi Port often run out of bikes by 9:30 AM on weekends in April, May and October. Cyclist-friendly accommodation on Omishima and Setoda is the other constraint: 30–60 days ahead is normal for peak season, longer for cherry blossom week.
Pack light. You want a small daypack with a 1-litre water bottle, sunscreen, a packable rain shell, a phone power bank, and ¥10,000 in mixed cash for inns, cafes and small ferries that do not take cards. A pair of padded cycling shorts is the single piece of gear that most affects whether Day 2 feels good or grim — Giant rental saddles in particular are unforgiving on bare skin.
Choosing Your Direction: Onomichi vs. Imabari
Onomichi is the conventional start because it is easier to reach by Shinkansen, has more rental options, and lets you finish at Imabari Port for a hot meal and a train back. The first kilometre is a ¥110 ferry across to Mukaishima — pleasant, fast, and the canonical opener — because the Shin-Onomichi Bridge is closed to bicycles. Most casual cyclists, families, and anyone with a packed Hiroshima itinerary should start here.
Imabari has two real advantages. First, the prevailing wind in the Seto Inland Sea blows from southwest to northeast for most of the year, so a south-to-north ride often delivers a tailwind across the longest, most exposed bridges. Second, you tackle the giant Kurushima-Kaikyo Bridge — a 4-km, three-section suspension structure — while your legs are fresh on Day 1 morning, instead of as the final climb on Day 2 afternoon when you are tired. CYCLONOIE and other local guesthouses near Imabari Station sit at the official 0-km marker and quietly nudge riders this way.
Check the forecast at Go Shimanami 48 hours before departure. Wind speed of 5 m/s or more across the Kurushima-Kaikyo Bridge is the threshold where headwinds genuinely hurt, and that is the strongest argument for flipping direction. Whichever way you go, the blue line and route signage are bidirectional — there is no penalty for choosing either start.
Bike Rental Options: Giant Store vs. Local Terminals
The Giant Store has two locations only: Onomichi U2 and Imabari Station. They rent road bikes (¥4,000–¥7,000/day) and cross bikes (¥3,000–¥5,000/day), include a helmet and basic tool kit, and offer a one-way drop. They are the right choice if you want a properly fitted bike for the 70-km distance, you are tall (Japanese hybrids cap around 175 cm rider height), or you have any back or knee history.
The Shimanami Rental Cycle network — operated by the Setouchi prefectures — runs 13 terminals across the route. Standard cross bikes are ¥2,000/day with a ¥1,100 deposit (refundable only if you return to your starting terminal), tandems and electric-assist bikes are ¥1,500–¥2,000/day with the e-bike capped at one-day use. The unbeatable advantage is one-way flexibility: drop the bike at any of the 13 terminals along the route and only forfeit the deposit. For two-day riders staying on Omishima, this means you can lock the bike at your inn overnight and finish at Sunrise Itoyama or Onomichi Port without backtracking.
Quick decision rule: if you cycle regularly at home, take the Giant. If this is a holiday rental and you would rather not think about gearing or saddle fit, take a public terminal cross bike — the route is mostly flat and well-paved, and the savings cover dinner.
Day 1 Itinerary: Onomichi to Omishima
Aim to be on the bike by 8:30 AM. From Onomichi Port, board the small green-and-white ferry to Mukaishima (5 minutes, ¥110 plus ¥10 for the bike, paid on board, departures every 10–15 minutes from 06:00 to 22:30). Pick up the blue line at the Mukaishima dock and follow it 7 km to the Innoshima Bridge approach — the climb is a gentle, winding 1.1 km at 3%.
Cross Innoshima and aim for an early lunch in Setoda on Ikuchijima around 12:00. The Dolce gelato shop near Kosanji Temple is the photo stop everyone makes; the temple itself is worth 45 minutes for the cave of a thousand Buddhas and the white marble Hill of Hope at the top. Back on the bike, the Tatara Bridge approach is the longest of the day at 1.5 km — pause at the foot to clap your hands beneath the main tower for the famous "roaring dragon" echo.
Roll into your Omishima inn between 16:00 and 17:00. Inokuchi (Kamiura) is closer to Tatara Bridge and quieter; Miyaura is the main town with the 2,500-year-old camphor tree at Oyamazumi Shrine, the Omishima Brewery, and the Mare Gracia hot spring bath. Total Day 1 distance: 38 km. Total bridge crossings: three (Innoshima, Ikuchi, Tatara). Riding time: about 4 hours, with another 3 hours for lunch, the temple and breaks.
Where to Stay: Best Mid-Way Accommodations
Omishima is the consensus mid-way base. The Inokuchi area near Tatara Bridge has cottage-style cyclist properties like WAKKA and the I-LINK Hostel, both with secure indoor bike storage and breakfast for around ¥9,000–¥13,000 per person. The Miyaura area, an extra 8 km west, leans toward classic ryokan: Sawaki, Chaume, and the budget Tomarigi Hostel. A useful aggregator is the list of cyclist-friendly accommodations on the Shimanami Kaido maintained by CYCLONOIE.
Setoda on Ikuchijima is the alternative for travellers who care more about evening atmosphere than splitting the route exactly in half. Azumi Setoda (the design-led upscale ryokan) and the smaller Tsuzu Inn put you a short walk from Kosanji Temple and the citrus shops. The trade-off is an unbalanced split: Day 1 becomes 28 km, Day 2 becomes 42 km with the Kurushima-Kaikyo Bridge at the end.
For a quieter night, Hakatajima has a cluster of small minshuku near Hakata Beach, and Oshima has a handful of guesthouses around Yoshiumi for those starting in Imabari. Skip the urban hotels in Imabari and Onomichi as overnight stops — they make the daily distances lopsided. If you are extending the trip, our notes on the Onomichi temple walk and the Hiroshima 2-day itinerary bookend the cycle nicely.
Bicycle tolls on every Shimanami Kaido bridge were permanently abolished in April 2022 — you no longer need coins for toll booths. The only mandatory cash outlay along the route is the ¥110 Onomichi–Mukaishima ferry. Most competitor guides written before 2022 still warn about bridge tolls.
| Day | Route | Distance | Key Stops | Riding Time |
|---|---|---|---|---|
| Day 1 | Onomichi → Omishima | ~38 km | Setoda (Kosanji Temple), Tatara Bridge | ~4 hours |
| Day 2 | Omishima → Imabari | ~32 km | Hakatajima, Murakami Museum, Kurushima Bridge | ~4 hours |
Day 2 Itinerary: Omishima to Imabari
Leave the inn by 8:30 AM. From Inokuchi, the Omishima Bridge is a 1.5-km approach to a 41-m crossing — short and easy. The first scenic stop is the Roadside Rest Area Hakata SC Park on Hakatajima, famous for its salt-flavoured ice cream and the "6 Cyclo Tourists" humanoid bike racks that have become a cycling-pilgrimage selfie spot.
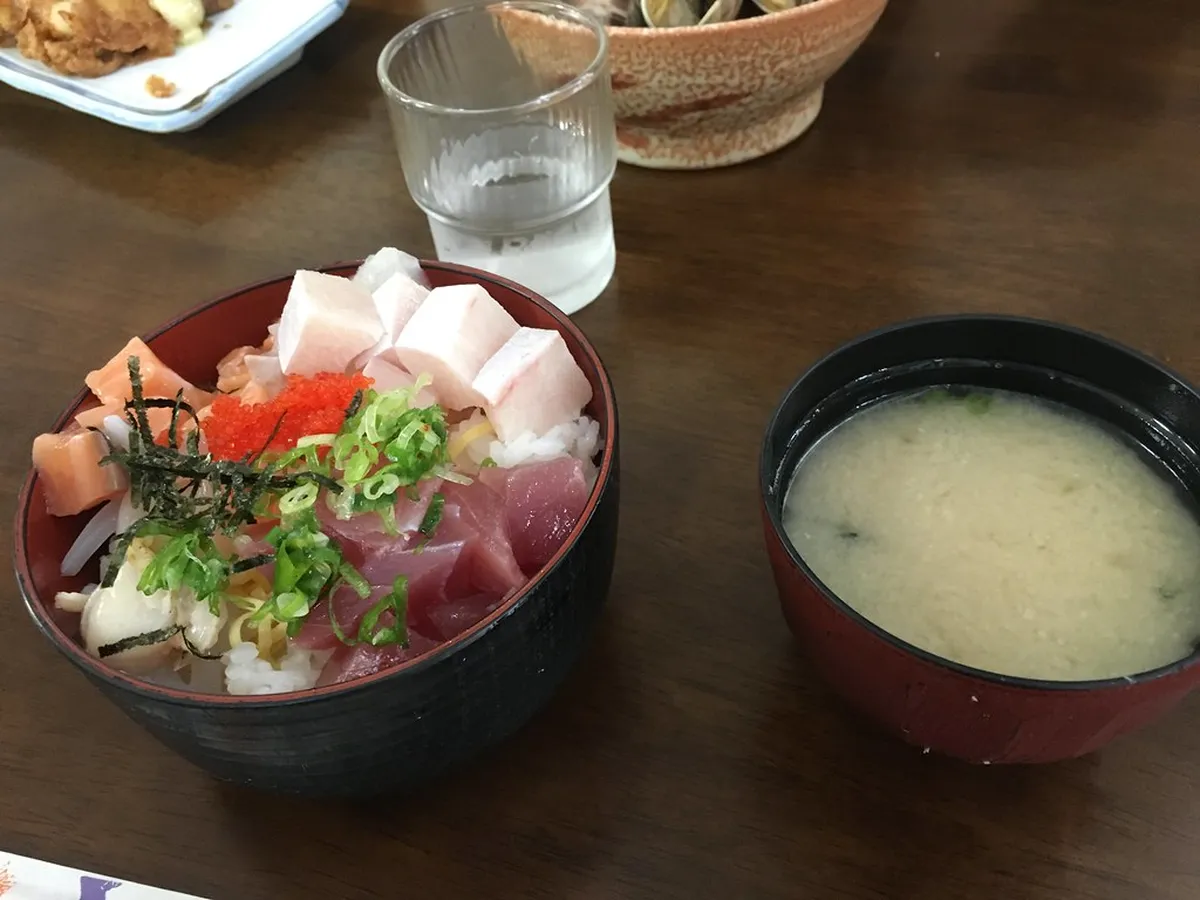
Cross the Hakata-Oshima Bridge mid-morning. Lunch on Oshima at Restaurant Noshima Suigun (fresh local seafood) or at Yoshiumi iki-iki kan, then visit the Murakami Kaizoku Museum next door — 45 minutes on the medieval pirate-navy that once controlled these waters. From Yoshiumi, brace for the Miyakubo Pass: a 1.2-km climb that is the steepest sustained section of the entire route. It is fine to walk the bike for the last 200 m.
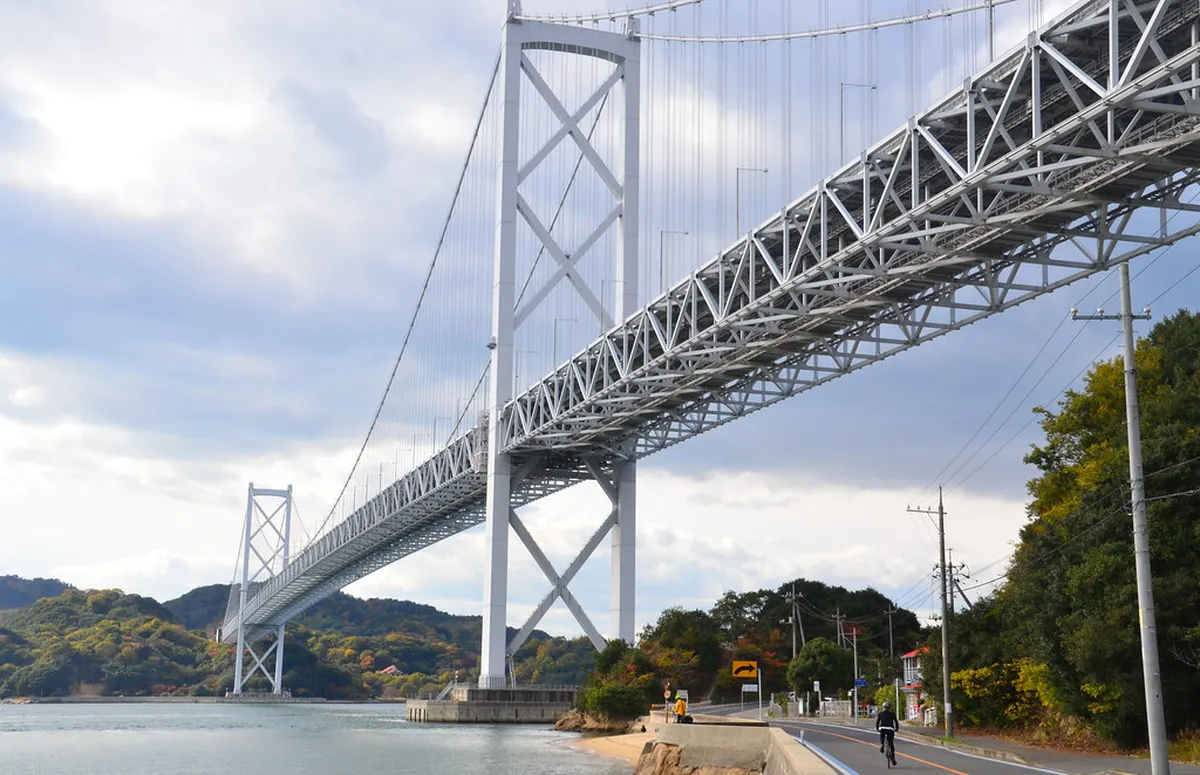
The afternoon belongs to the Kurushima-Kaikyo Bridge. The approach is a unique pair of free-standing helical ramps that spiral up to the 75-m bridge deck. The crossing itself is 4 km of suspended roadway with views down to the famous tidal whirlpools of the Kurushima Strait. From the south end, follow the blue line through Imabari's coastal suburbs for the final 6 km to Imabari Station. Aim to return the bike by 16:30. Total Day 2 distance: 32 km. Riding time: about 4 hours.
Luggage and "Nonbiri" Delivery Services
The Sagawa "Nonbiri Cycling" service is the single most useful logistics hack on the Shimanami Kaido. Drop your suitcase at the Onomichi Port counter (next to the rental terminal) by 10:00 AM, and Sagawa delivers it to your hotel in Imabari the same day for ¥2,000–¥2,500 per bag up to 25 kg. The same service runs in reverse from Imabari to Onomichi. Bookings can usually be made on the day, but on cherry blossom weekends it is worth calling your hotel a week ahead to confirm they accept Nonbiri deliveries.
For mid-route transfers — say, Onomichi to your Omishima inn for an overnight bag — many cyclist-friendly guesthouses run private bag-shuttle services for ¥1,500–¥2,000 per bag if you book at the same time as your room. Ask when reserving; it is not always advertised.
If you are returning to your starting city, large coin lockers at Onomichi Station and Imabari Station hold a full suitcase for ¥700 per 24 hours. Onomichi U2 (the renovated waterfront warehouse next to Giant Store) also has a free coin shower for cyclists, which is the unsung post-ride detail nobody mentions until you have actually finished sweaty and grateful.
Bridge Tolls, the Blue Line, and the Rules That Changed
If you are reading other guides, you will see references to ¥50–¥200 tolls at each bridge and old roadside coin boxes. Ignore them. Bicycle and pedestrian tolls on every Shimanami Kaido bridge were abolished on 1 April 2022 and remain free in 2026. You no longer need a fistful of ¥100 coins, you no longer need to stop at unmanned toll stations, and the old "Cycling Ticket" booklet is discontinued. Most competitor blogs were written before the change and quietly mislead readers — your only mandatory cash outlay along the route is the ¥110 Onomichi-Mukaishima ferry.
The blue line is the second piece of "infrastructure" that earns your trust. It is a continuous painted line along the right shoulder (or on a dedicated cycle lane) marking the recommended main route, with a white line marking detours to viewpoints and ports. Distance counters every 1 km show kilometres remaining to both Onomichi and Imabari, so you always know exactly how far you have left. You do not need offline maps, GPS, or a route app — just look down. If the line forks, the solid blue is the shortest path and the dashed blue is a slightly longer scenic alternative.
One small etiquette point worth knowing: ride single file in towns and on the narrow Mukaishima coastal road, signal lane changes with your hand, and pass slower riders on the right with a polite "sumimasen." Bridges have a separate cycle/pedestrian lane physically divided from cars, so the dangerous moments are on the few hundred metres of shared road on each island, not the bridges themselves.
Book accommodation on Omishima or Setoda 30–60 days ahead in peak season (cherry blossom and October). Giant Store Onomichi requires reservations at least 14 days out and sells out for spring weekends months in advance. Public rental terminals often run out of bikes by 9:30 AM on weekends in April, May, and October.
Seasonal Considerations: Sakura, Azaleas and What to Avoid
Late March to early April is the cherry-blossom peak, with sakura along the Innoshima Bridge approach and around Setoda. Late April through May is azalea season — pink and white blooms line the Tatara and Kurushima-Kaikyo cycle ramps — and many regulars name this their favourite window because the air is dry, the temperatures sit at 18–22°C, and the citrus orchards on Ikuchijima are in flower.
October and November bring crisp air, clear skies and a different kind of beauty: the Setoda lemons turn yellow on the slopes above the Lemon Valley, and visitor numbers drop after the autumn three-day weekend. Inn rates are 10–20% lower than spring. June through mid-July is rainy season — the bridges are still rideable but slick, and visibility from the higher decks drops dramatically.
The two windows to avoid are mid-July to mid-August (heat indices regularly exceed 35°C with little shade on the bridges) and Golden Week (29 April to 5 May), when every accommodation books out and the rental terminals queue from before opening. If you must ride in summer, start at 6:00 AM, finish by 13:00, and spend the afternoon hours indoors at the Hirayama Ikuo Art Museum or in a Setoda cafe.
Frequently Asked Questions
How much does it cost to cycle the Shimanami Kaido?
Renting a basic bike costs about ¥1,000 per day plus a deposit. Bridge tolls are minimal, usually totaling less than ¥500 for the entire route. Budget around ¥15,000 for a mid-range overnight stay and meals.
Can beginners complete the 2-day itinerary?
Yes, the 2-day pace is very manageable for most healthy adults. The bridge ramps are designed with a gentle 3% incline for cyclists. Taking frequent breaks and using the blue line makes it very accessible.
What happens if it rains during my cycling trip?
The bridges can be slippery and windy during heavy rain or storms. You can take local ferries between islands to skip sections if the weather turns bad. Most rental terminals do not offer refunds for early returns due to rain.
Two days is the right length for the Shimanami Kaido. It is enough to enjoy the Seto Inland Sea light at both ends of the day, to eat a slow lunch on Oshima, to climb Kosanji's Hill of Hope, and to finish across the Kurushima-Kaikyo Bridge with energy in your legs. Book the Giant or your local terminal early, ship your suitcase via Sagawa Nonbiri, follow the blue line, and remember that the bridges are toll-free in 2026.
Whichever direction you choose, the route rewards a relaxed pace. Stop for the gelato in Setoda, clap beneath the Tatara dragon, and rinse off in the U2 coin shower at the finish. Safe riding across the Seto Inland Sea.
Free: The Hiroshima Essentials guide
Top things to do, where to stay, a perfect day plan, getting around, and the best time to go — a Hiroshima mini-guide you can take offline.
You might also like


Continue reading
More guides you'll find useful