10 Essential Historical Sights at Byakkotai Iimoriyama (2026)
Explore Byakkotai Iimoriyama with our guide to 10 essential historical sites and attractions. Learn about the Byakkotai tragedy, Sazaedo, and plan your visit with practical tips.
On this page
10 Essential Historical Sights at Byakkotai Iimoriyama: A 2026 Guide
the Iimoriyama is a modest hill on the edge of Aizuwakamatsu city, but it carries one of the most haunting stories in modern Japanese history. In October 1868, nineteen teenage samurai climbed to the summit, looked out toward the Tsuruga Castle, and believed what they saw meant the end of everything they were fighting for. They were wrong — but they died before anyone could tell them. What they saw was not the castle burning. It was fires from the castle town below. The castle itself survived. It still stands today, visible from the very spot where the boys died.
That detail — the castle intact, the boys dead, the tragedy built entirely on a misread column of smoke — is what makes Iimoriyama unlike any other memorial site in Japan. Visiting in 2026, the hill holds graves, a remarkable double-helix pagoda, an escape cave, foreign monuments, and panoramic views over a city still shaped by this event. This guide covers every site worth your time and how to connect them into a coherent half-day visit.
Free guide: Japan's Hidden Gems
12 under-the-radar places beyond Tokyo & Kyoto — with the best season to visit each and a local tip you won't find in the guidebooks.
The Byakkotai and the Boshin War
The Boshin War (1868–1869) was a civil war between forces loyal to the Tokugawa shogunate and those seeking to restore imperial rule under Emperor Meiji. Aizuwakamatsu was one of the last holdouts of shogunate resistance. The Aizu Domain's lord, Matsudaira Katamori, had served as the imperial protector of Kyoto before the war turned against his side, and Aizu's loyalty to the old order was total.
The Byakkotai — "White Tiger Corps" — was one of several fighting units the Aizu Domain organized from its samurai class. The corps drew boys aged 16 and 17, with some as young as 13 reportedly slipping through. Of the 343 members total, a group of roughly 20 retreated to Iimoriyama after a crushing defeat at the Battle of Tonoguchi Plain in early October 1868. Wounded and exhausted, they crawled through the Tonoguchi irrigation cave to reach the hill's summit. From there they looked toward Tsuruga Castle and saw thick black smoke. They concluded the castle had fallen and that the Aizu Domain was finished. Nineteen of the twenty committed seppuku on the spot. One survived — Iinuma Sadakichi, who was found still breathing and revived by a local woman who came across his body.
The bitter historical irony is that Tsuruga Castle held out for another month. The smoke the boys saw came from fires in the surrounding town, not the castle. Iinuma Sadakichi survived to live a long life — he died in 1931, well into the Showa era — and it was largely through his testimony that the Byakkotai story was recorded and passed down. He carried the weight of being the sole survivor for over six decades, and his account is the primary source for everything visitors see on the hill today.
The Byakkotai's fatal error hinged on a misread column of smoke. From Iimoriyama's summit, the castle is far enough away (roughly 1.5 km) that distinguishing a burning keep from fires in the castle town became impossible during the chaos of siege. What looked like total defeat was in fact a city under attack while its fortress still stood. This detail is the emotional core of the site — the misunderstanding that changed history, visible from the exact vantage point where it occurred.
The Graves of the 19 Byakkotai Warriors
The graves are the emotional core of Iimoriyama. Arranged in a row near the summit, each stone marks one of the nineteen boys who died here. The site was not formally established until 1887 — nearly twenty years after the event — when a grand memorial service was held during the Meiji era. In the immediate aftermath of the battle, the boys had been considered enemies of the new imperial government, and an order was given to leave their bodies unburied. The lord of the Iimoriyama area defied this order and arranged a temporary burial; he was punished for the act.
| Site | Fee | Notes |
|---|---|---|
| Byakkotai Graves | Free | Free access year-round; peaceful atmosphere, especially weekdays |
| Sazaedo Temple | ¥400 | Double-helix structure, 08:30–17:00 daily; UNESCO-listed Important Cultural Property |
| Tonoguchi Weir Cave | Free | 150m passage, cool and damp; wear grippy shoes; 15–20 min walk |
| Byakkotai Memorial Museum | ¥400 | War artifacts, letters, dioramas; 45 min–1 hour; labels in Japanese + English |
| Former Takizawa Honjin | ¥400 | 1600s samurai lodge; bullet holes and sword marks visible on walls and pillars |
| Hill Escalator | ¥250 one-way, ¥360 return | Cuts 200+ steep steps; 5-min walk down recommended |
The graves are free to visit and accessible year-round. Most visitors spend 20 to 30 minutes here, reading the names and reflecting on the ages carved into the stone. The atmosphere is genuinely quiet, especially on weekday mornings. During autumn, the surrounding foliage creates a muted, appropriate backdrop. There are no gates or fences — you walk directly among the stones, which is an unusual degree of access for a site of this significance.
Just above the main graves, a small stone marker identifies the exact location where the seppuku took place. The proximity is striking: the view of Aizuwakamatsu and the distant outline of Tsuruga Castle is visible from this spot on a clear day. Standing here, the fatal misreading of the smoke becomes viscerally understandable — the castle is genuinely far enough away that details would have been lost in the haze and chaos of battle.
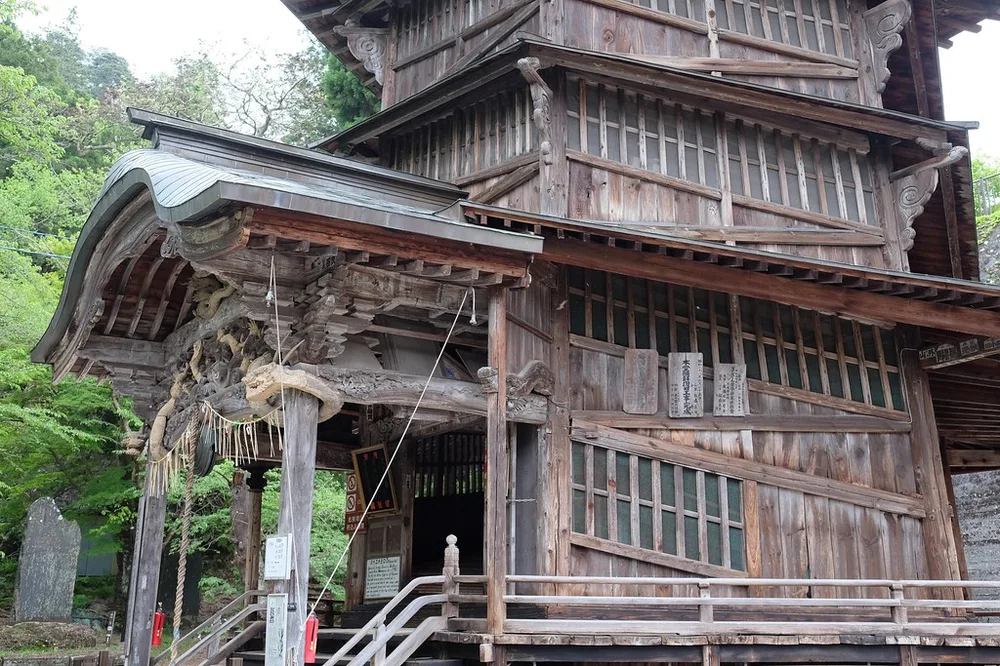
Sazaedo Temple: A Double-Helix from 1796
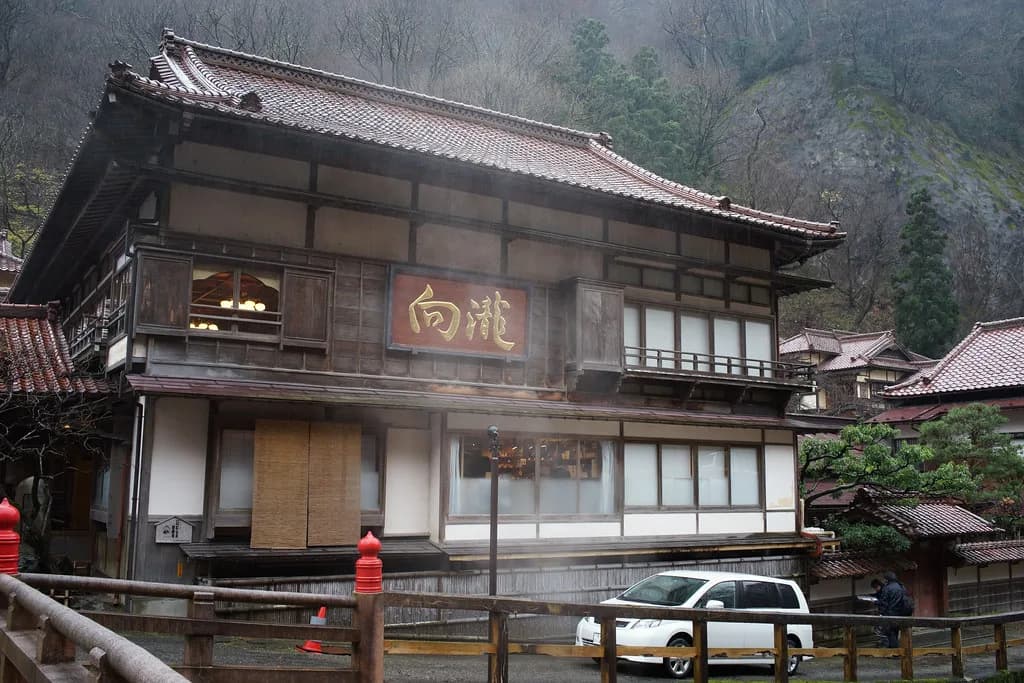
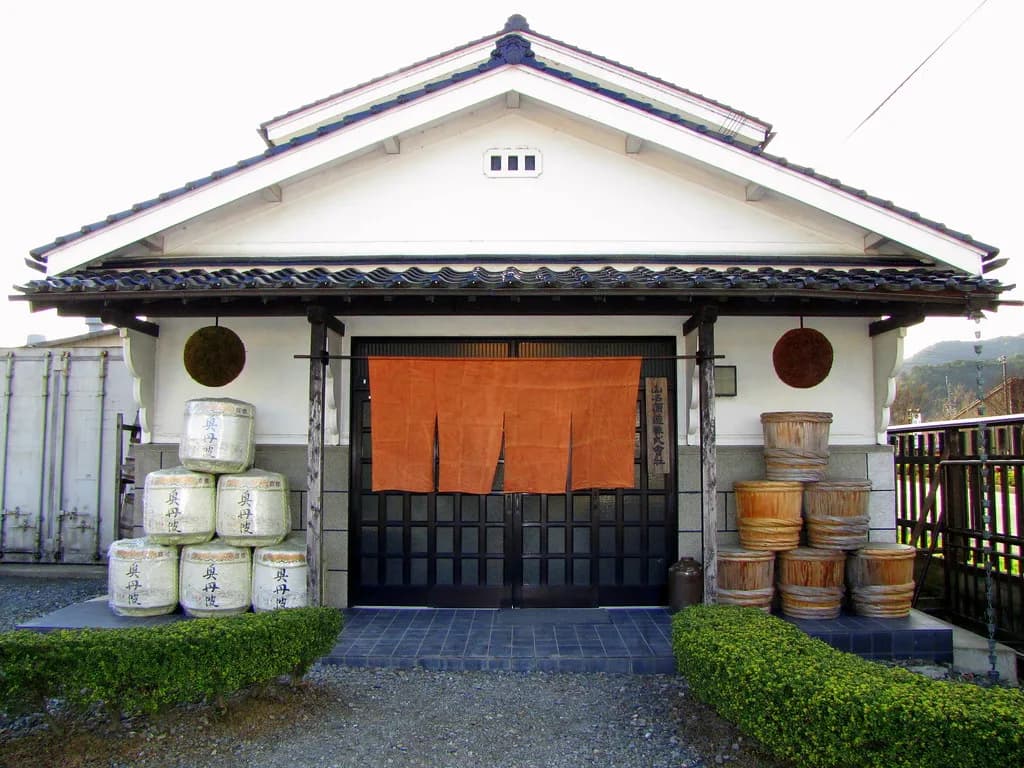
the Sazaedo — formally named Entsu Sansodo — is the site's architectural surprise. Built in 1796 during the Kansei era, this wooden pagoda solved a specific pilgrimage problem: it originally housed 33 Kannon statues and was designed so that worshippers could complete the entire 33-temple Saigoku pilgrimage by walking through a single structure. The engineering solution was a double-helix ramp. Visitors ascending and descending follow completely separate spiral paths and never cross each other's route. In a busy pilgrimage period, this prevented congestion inside a single stairwell.
Sazaedo admission is ¥400 per adult. The escalator at the hill's base costs ¥250 one-way or ¥360 for a return trip — it cuts out 200+ steep steps to reach this level. Most visitors take the escalator up and walk the five-minute descent on paved stone steps. The escalator makes both Sazaedo and the graves accessible for visitors with mobility limitations.
The structure was designated a National Important Cultural Property in 1996, and it remains genuinely rare — double-helix construction of this kind from the Edo period survives almost nowhere else in Japan. The interior is dim and the ramp is steep in places, but the experience of moving through the coiling space without encountering oncoming foot traffic is architecturally disorienting in the best way. Hours run 08:30 to 17:00 daily, though seasonal adjustments apply in winter.
One practical note: photography rules inside Sazaedo are not always clearly posted. Look for signage at the entrance and ask the ticket staff before shooting inside. The exterior and the surrounding grounds are freely photographable.
Byakkotai Memorial Museum
The museum was founded by Kyoshi Hayakawa, an Aizu lawyer who used his own funds to ensure the Byakkotai story would not fade from memory. That personal motivation gives the collection a different character from a government-run museum — it is opinionated about what it wants to preserve, and the exhibits reflect a genuine curatorial passion rather than institutional neutrality.
Inside, you will find artifacts from the Boshin War era, letters, photographs, weapons, and dioramas reconstructing the battle. The museum also holds materials related to the Shinsengumi, the shogunate's special police force that fought alongside Aizu forces, making it worthwhile for anyone with broader interest in the late Edo period. Admission is ¥400 per adult. Budget at least 45 minutes to an hour; the labelling is in Japanese with some English supplementary material, so non-Japanese readers may move through more quickly. Hours run 08:30 to 17:00.
Former Takizawa Honjin
The Takizawa Honjin sits just below Iimoriyama and is the oldest surviving private residence in the Tohoku region. It served historically as a rest stop for Aizu feudal lords traveling the Kaido Highway and during official visits to Edo — a "honjin" being the designated lodging for daimyo on the road. During the Boshin War it was converted into the temporary headquarters for Lord Matsudaira Katamori, and it was here that the Byakkotai received their deployment orders.
What makes the visit concrete rather than abstract is the physical evidence of the fighting still visible in the building itself. Bullet holes and sword marks are embedded in the walls and pillars, left over from the siege. They have not been restored or covered — you can run your fingers along them. This is a small detail that separates the Honjin from many Japanese historical buildings where the structure has been fully renovated. Admission is ¥400 per adult. Hours run 08:30 to 17:00.
Tonoguchi Weir Cave
A one-minute walk from Sazaedo, Tonoguchi Weir Cave is the point where the Byakkotai story becomes physically immediate. This 150-metre passage is part of a 31-kilometre irrigation canal system originally built to carry water from Lake Inawashiro to Aizu farmland. In October 1868, the surviving Byakkotai members used it as an escape route after their defeat at the Battle of Tonoguchi Plain — pushing through icy water in the dark to reach Iimoriyama.
The cave today is cool, dim, and damp even in summer. Entry is free and it is open year-round, though the footing is uneven and wet in places — wear shoes with some grip, not sandals. Allow 15 to 20 minutes to walk through and back. The experience is quiet enough to function as a moment of transition between the escalator-and-tourist-shop section of the hill and the graves above. If you are visiting with children, the cave is manageable for most ages but worth previewing before committing everyone inside.
The View That Changed Everything
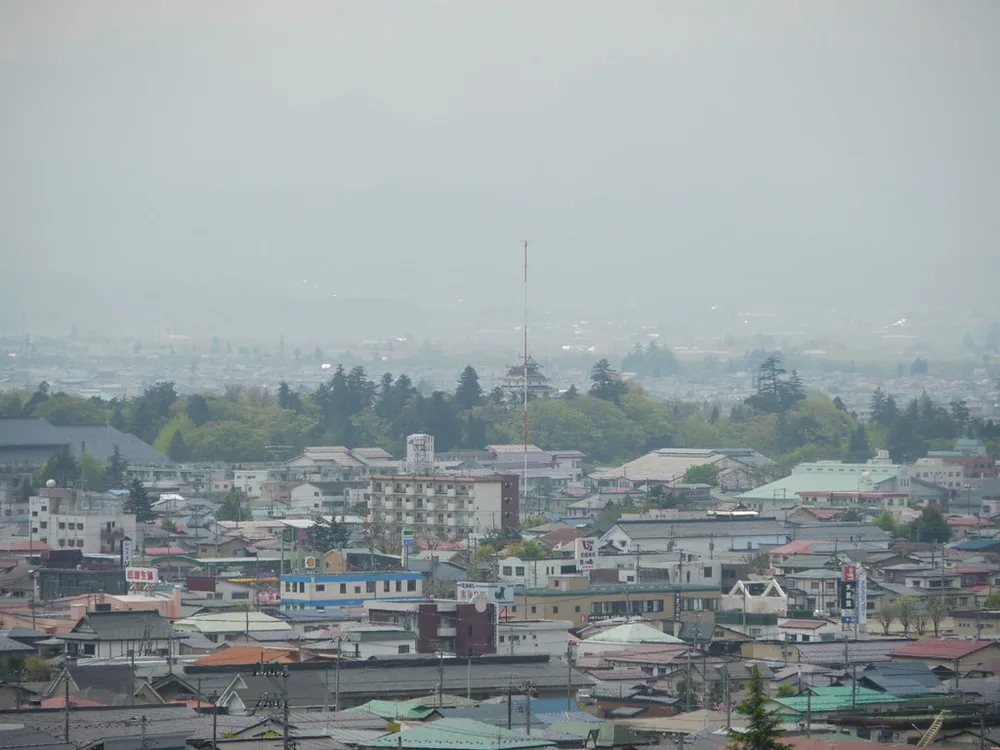
From the summit of Iimoriyama, Aizuwakamatsu spreads out below in a broad flat basin. Tsuruga Castle is visible on clear days as a white structure to the south, roughly 1.5 kilometres away. The view is the reason the Byakkotai chose this hill — it offered a clear sightline to judge the fate of the castle and the city.
Standing at the summit viewpoint today, the distance between the hill and the castle helps explain the fatal error. At that range, with smoke rising from multiple points in the castle town below the castle walls, it would have been genuinely difficult to distinguish which structure was burning. The castle keep itself is relatively small from this distance, surrounded by the lower rooflines of the town. For visitors who want to photograph the view, morning light hits the castle from the east, while late afternoon silhouettes it against the western sky. The viewpoint itself is free and accessible whenever the hill is open.
The panorama also includes Bandai mountain to the north on clear days, and the flat agricultural plain that makes Aizuwakamatsu feel geographically isolated from the rest of Fukushima Prefecture — a feature that contributed to its role as a redoubt in the Boshin War, hard to supply and hard to reinforce.
The Italian and German Monuments
Two foreign government monuments stand among the Japanese memorials on Iimoriyama, and they are worth a moment's attention because their presence is genuinely unusual. The Italian monument incorporates a column from ancient Pompeii, donated by the Italian government. The parallel between Pompeii — a city preserved by sudden catastrophe — and the Byakkotai story is explicit in the dedication: both speak to the preservation of memory from a moment of destruction.
The German monument was erected by the government of Nazi Germany in 1935 and features an inscription from the German national anthem. Its presence on Iimoriyama is historically complicated — the monument was put up during a period of active German-Japanese diplomatic alignment, and the Byakkotai's story of absolute loyalty to a lord in defeat appealed to the ideological messaging of that era. The monument still stands, and Japanese visitors and foreign visitors alike tend to read it differently. Both monuments are free to visit and have no set hours.
Planning Your Visit to Iimoriyama
Most visitors allocate two to three hours on the hill to cover all the main sites. A focused visit covering the graves, the suicide site viewpoint, and Sazaedo can be done in 90 minutes. Adding the museum, Takizawa Honjin, and the cave fills three hours comfortably. The hill is compact enough that backtracking is minimal if you move from the cave up through the graves to the summit viewpoint.
The escalator runs from the base near the main entrance up to the level of Sazaedo and the graves, cutting out the steepest 200 steps. It costs ¥250 one-way or ¥360 return. Most visitors take it up and walk down; the descent on foot takes about five minutes on paved stone steps. For visitors with mobility limitations, the escalator makes the graves and Sazaedo accessible, though the ground around the memorial markers is uneven and some paths involve short stone stairways without handrails.
To get here from Aizuwakamatsu Station, take the Haikara-san or Akabe loop bus — both tourist-oriented circuits that stop at Iimoriyama. The bus runs every 30 minutes from approximately 08:00 to 17:30 and costs ¥210 per ride, or ¥600 for a day pass that also covers Tsuruga Castle and Bukeyashiki. A taxi from the station takes about 10 minutes and costs ¥1,000 to ¥1,500. By car, it is a 15-minute drive from the Aizuwakamatsu IC on the Ban'etsu Expressway; paid parking is available at the base. Plan your Aizuwakamatsu itinerary ideas to combine Iimoriyama with Tsuruga Castle in a single morning.
The best season is autumn (mid-October to mid-November) when the hillside foliage turns and crowds are manageable on weekdays. Cherry blossom season in April draws larger crowds. Summer is humid and fully exposed in places; bring water and plan to arrive before 09:00. In winter, the steps can be icy and the escalator may have reduced hours. The paid sites — Sazaedo, the museum, and Takizawa Honjin — each charge ¥400 per adult. If you visit all three, budget ¥1,200 per person for admissions plus escalator. Combine Iimoriyama with other Things to Do in Aizuwakamatsu for a full day itinerary.
Frequently Asked Questions About Iimoriyama
Frequently Asked Questions
Which Byakkotai Iimoriyama sites are most important for first-time visitors?
First-time visitors should prioritize the Byakkotai Graves, the Site of the Byakkotai Mass Suicide, Sazaedo Temple, and the Byakkotai Memorial Museum. These sites offer the most comprehensive understanding of the Byakkotai tragedy and the hill's unique cultural heritage.
How much time should you plan for visiting Iimoriyama?
Plan for approximately 2 to 3 hours to fully explore Byakkotai Iimoriyama, including the museum and Sazaedo Temple. This allows enough time for reflection at the memorials and to absorb the detailed historical information provided.
Are there any entrance fees for Iimoriyama attractions?
Yes, while the Byakkotai graves and many monuments are free, Sazaedo Temple, the Byakkotai Memorial Museum, and Former Takizawa Honjin each have individual entrance fees, typically ¥300–¥400 per adult. An escalator ride also costs extra.
What is unique about Sazaedo Temple?
Sazaedo Temple is unique for its double-helix ramp structure, allowing visitors to ascend and descend without encountering others. This architectural marvel from the Edo period is a designated Important Cultural Property and offers a fascinating experience.
Is there an escalator at Iimoriyama?
Yes, an escalator is available at the base of Iimoriyama, providing convenient access to the upper sections of the hill. It costs ¥250 for a one-way trip or ¥360 for a round trip, saving you a steep walk.
Byakkotai Iimoriyama works as a visit because the physical site and the story reinforce each other at every point. The cave where the boys escaped, the summit where they misread the smoke, the castle still visible in the distance, the graves where they were buried against orders — everything is within walking distance, and the sequence of events unfolds spatially as you move through the hill. That kind of site coherence is rare.
Combine Iimoriyama with a visit to Tsuruga Castle in the same half-day — the castle's red-tile reconstruction and the hill's austere graves tell the same story from opposite ends. The Aizu samurai residence & school adds a third dimension if you want to understand what daily samurai life looked like before the war that ended it.
For trip-planning details, see the Byakkotai on Wikipedia and the official Fukushima travel guide.
Free guide: Japan's Hidden Gems
12 under-the-radar places beyond Tokyo & Kyoto — with the best season to visit each and a local tip you won't find in the guidebooks.
You might also like


Continue reading
More guides you'll find useful